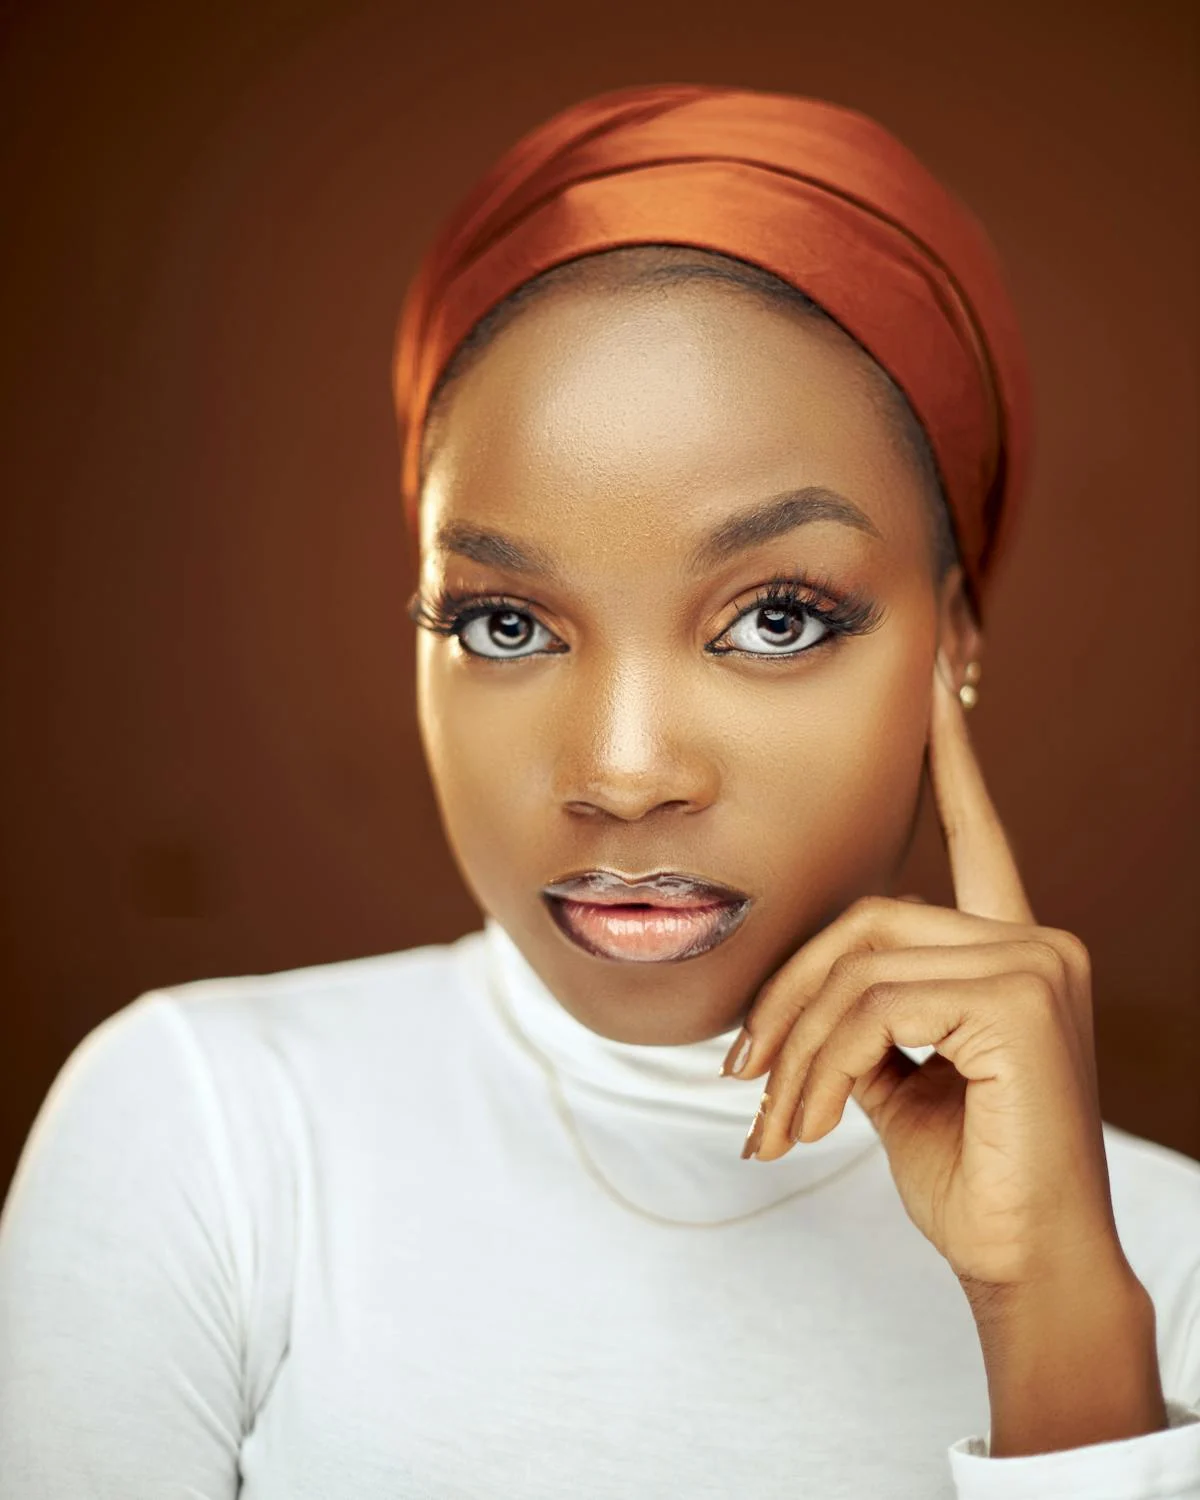
Whether you’re aiming for a standout LinkedIn profile, updating your business website, or in need of acting headshots, preparing for a professional headshot session can significantly impact how you are perceived. A well-executed headshot showcases your professionalism and personality, whether it’s for business headshots or more creative industries.
Here’s a comprehensive guide on how to prepare for headshots, whether you choose to work with a traditional photographer or an AI-based solution.
How to Prepare for Professional Headshots
Step 1: Decide on Your Headshot Style
The first step is deciding between classic photographers for headshots and AI-generated headshots. Each option has unique benefits, so choose the one that fits your needs:
Professional Photographer:
- Offers personalized guidance and refined results.
- Ideal for business headshots, acting headshots, or if you’re looking for something tailored.
- Takes more time and can be costly but often results in higher-quality images.
AI Headshot Solutions:
- Convenient and cost-effective, these are excellent for those on a budget or in need of a quick turnaround.
- Ideal for standard professional headshots for LinkedIn or profiles that require clean, polished results.
- While AI is advancing rapidly, it may lack the nuanced direction a photographer offers.
Step 2: Choose Your Outfit
Your outfit speaks volumes about your brand, whether you’re using photographers for headshots or an AI platform.
Classic Photography:
- Choose colors that complement your industry. Dark colors like navy, gray, and black work well for corporate business headshots, while lighter or vibrant hues may be better suited for creative fields.
- Avoid patterns that distract from your face. Opt for solid, neutral tones.
- Groom your clothes beforehand—wrinkles can be distracting in your final image.

- AI Headshots:
Since the AI will generate the final headshot based on the images you upload, ensure you wear something clean and representative of how you want to appear.
Choose clothing that reflects your style and profession but avoid anything too casual unless it’s a part of your brand.
Step 3: Prepare Your Face and Hair
Looking your best in professional headshots requires some grooming and preparation, regardless of whether you’re working with a photographer or using AI.
Classic Photography:
- Book any grooming appointments (e.g., haircuts, beard trimming, or makeup) at least a day or two before the shoot to ensure you’re looking sharp.
- Focus on skincare: hydrate well and avoid heavy makeup for headshot unless instructed otherwise. Opt for a clean, fresh-faced look to enhance natural beauty and minimize the need for post-production editing.
AI Headshots:
- Upload high-quality, well-lit images that clearly showcase your face. AI tools work best with well-defined photos, so make sure you’re well-groomed and your hair is styled neatly.
- Keep in mind that the AI may not be able to “fix” grooming issues, so try to provide the best raw material possible.
Step 4: Choose Your Background
The headshot background plays an important role in setting the tone of your headshot, whether you’re aiming for professional headshots for LinkedIn or creative acting headshots.
Classic Photography:
- Discuss with your photographer what type of background will best suit your goals. You might opt for a plain white or gray background for corporate business headshots, or something with more texture or depth for creative industries.
- Natural settings, like an office environment or outdoor scenery, can give your headshot more personality.

AI Headshots:
- When using AI, choose images with simple backgrounds, making it easier for the system to generate polished results.
- Many AI platforms offer customizable background options, allowing you to select a style that aligns with your professional brand (e.g., a modern office or clean white backdrop).
Step 5: Practice Your Poses
A confident posture and natural expression are key for standout headshots, regardless of the method you choose.
- Classic Photography:
Practice in front of a mirror to find your most flattering angles and expressions. Keep your shoulders relaxed and maintain a natural smile.
Try out a few different expressions: one neutral, one confident, and one friendly. A good photographer will guide you through different poses, but practicing beforehand can help reduce nerves.
- AI Headshots:
Since AI works with the images you provide, upload several photos with various facial expressions and poses. This will give the AI more flexibility in generating the best headshot.
Step 6: Managing the Photoshoot (For Classic Photographers)
If you opt for classic photographers for headshots, the experience will differ from AI. Here are some tips for making the most of your session:
- Communicate clearly with your photographer. Share what you want to convey in your headshot, whether it’s authority for professional headshots or warmth for personal branding.
- Ask for a variety of shots: close-ups, side profiles, and different angles. This ensures you’ll have options to choose from later.
- Stay relaxed. A stiff pose can make even the best photo look unnatural. Your photographer is there to guide you, so trust their expertise.
Step 7: Reviewing and Finalizing Your Headshots
Now that the shoot is done, it’s time to review the images.
- Classic Photography: Your photographer will likely send proofs for you to review. Take your time selecting the best images and don’t hesitate to ask for minor edits—adjusting lighting, removing blemishes, or enhancing sharpness. Photographers for headshots are skilled in making subtle retouches that bring out the best in your image.
- AI Solutions: Most AI platforms offer multiple generated options. Pick the one that best aligns with your vision, and if the platform allows, make small adjustments for a more polished result.
Final Takeaway
Your photographer will likely send proofs for you to review. Take your time selecting the best images and don’t hesitate to ask for minor edits, adjusting lighting, removing blemishes, or enhancing sharpness. Photographers for headshots are skilled in making subtle retouches that bring out the best in your image.
Meanwhile, most AI platforms, like Profile Bakery, offer multiple generated options. Pick the one that best aligns with your vision, and if the platform allows, make small adjustments for a more polished result.
Frequently Asked Questions
Some frequently asked questions.


